Blisters can turn an enjoyable trek into a painful ordeal, but with the right preparation, hikers can keep their feet happy on the trail. Proper footwear, sock selection, and preventive measures are key to avoiding the dreaded “second day syndrome” when blisters often appear.
Key Takeaways:
- Choose well-fitting, broken-in boots or trail runners suited to your hiking conditions
- Opt for moisture-wicking wool or synthetic socks instead of cotton
- Apply anti-chafing products to blister-prone areas before hiking
- Use preventive taping techniques on hot spots
- Perform regular foot checks and treat issues early
Footwear Fundamentals: Your First Line of Defense
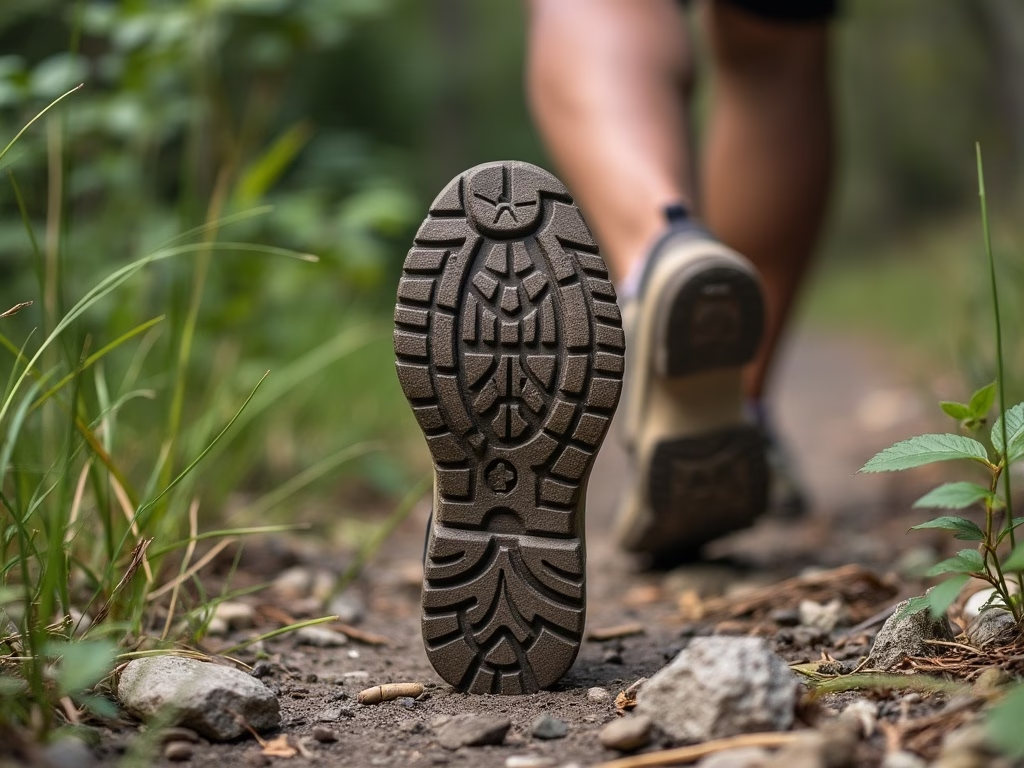
The foundation of blister prevention starts with your choice of footwear. Proper fit is crucial – your boots or trail runners should feel snug but not tight, with enough room to wiggle your toes. When trying on hiking shoes, walk on an inclined ramp to simulate trail conditions and ensure your heel doesn’t slip.
For varied terrain and weather, consider waterproof breathable boots like the Salmon Quest Gore-Tex. These offer protection from wet conditions while allowing feet to breathe. In drier, warmer climates, ventilated mesh trail runners such as the Salomon XA Pro can keep feet cool and reduce sweat buildup.
Don’t forget to break in new footwear before hitting the trails. Wear them around the house and on short walks to soften the material and identify any potential rubbing spots. For added protection against debris, consider using gaiters like the Outdoor Research Ferrosi or Rocky Mountain models.
The Sock Strategy: Moisture Management and Friction Reduction
Your sock choice is just as important as your footwear. Ditch the cotton socks – they retain moisture and increase friction. Instead, opt for wool or synthetic socks that wick away sweat and keep feet dry. For cooler weather, consider a layering approach with a thin liner sock under a thicker outer sock.
To further reduce friction, apply anti-chafing products to blister-prone areas before your hike. Options include:
- Vaseline
- Body Glide Foot Glide
- Hike Goo
- Blister Shield
These products create a protective barrier between your skin and socks, minimizing the risk of blisters forming during your trek up those challenging elevations.
Proactive Protection: Taping, Monitoring, and Treatment
Before hitting the trail, identify areas prone to blistering and apply preventive taping. Moleskin tape, Leukotape, or KT tape can provide an extra layer of protection. Here’s how to apply tape effectively:
- Clean and dry the area thoroughly
- Cut the tape to size, rounding the corners to prevent peeling
- Apply the tape smoothly, avoiding wrinkles
- Press firmly to ensure good adhesion
During your hike, perform regular foot checks, especially during breaks. If you feel a hot spot developing, address it immediately. Carry a blister first aid kit containing items like Spenco 2nd Skin Blister Pads for quick treatment on the go.
If a blister does form, don’t pop it unless absolutely necessary. Clean the area, apply an antibiotic ointment, and cover with a blister-specific bandage or moleskin donut to relieve pressure.
Remember, hiking is accessible to everyone with the right preparation. By following these tips, you’ll be well-equipped to prevent blisters and enjoy your time on the trail with happy, comfortable feet.
Sources:
Happiestoutdoors.ca
Sea to Summit
Trailmaiden.com
Bearfoottheory.com
The Hiking Club


